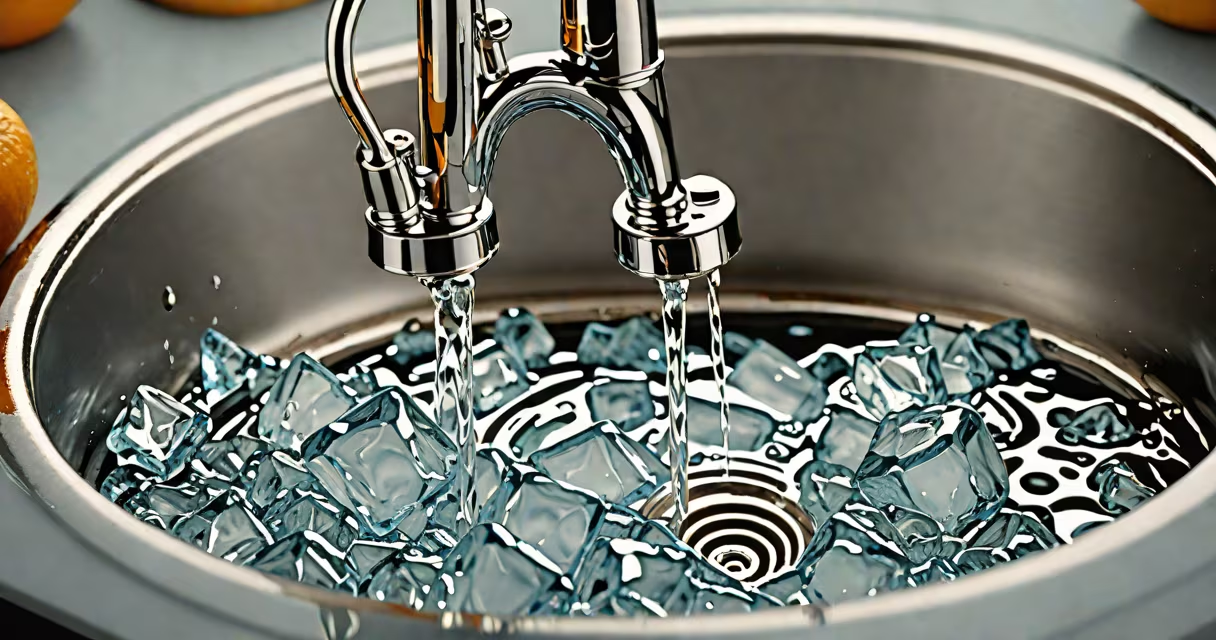
A clogged disposal occurs when food waste, grease, or foreign objects block the grinding chamber or drain pipe, preventing proper drainage and causing noise or odor. Clearing it requires identifying the root cause-jam, debris buildup, or drain obstruction-and applying the correct mechanical or chemical solution.
Most clogs stem from a jammed impeller blade or trapped hard objects like bones, bottle caps, or fibrous materials such as celery or potato peels. These prevent the motor from turning freely. A disposal may hum but not grind, indicating a blockage. If the unit runs but drains slowly, the issue likely lies downstream in the P-trap or drain line.
Start by disconnecting power at the circuit breaker. Never attempt to reach into a disposal while it's plugged in. Use a flashlight to peer into the unit. If you see a foreign object, use tongs or pliers to remove it. Do not use hands-blades rotate instantly when power resumes.
The disposal uses spinning metal blades mounted on a rotating plate to chop waste into small particles. Water flushes the material through a discharge pipe into the sewer system. When too much material enters at once, or when non-grindable items are added, the system overloads. The motor stalls, and the blades stop moving.
Modern disposals have a reset button located on the bottom or side. If the motor overheats or detects resistance, it trips. Pressing the reset button restores power. If the unit still won't run after resetting, the jam is mechanical, not electrical.
To manually free a jam, insert an Allen wrench (usually included with installation) into the hexagonal socket on the bottom of the unit. Turn it back and forth 10-15 times. This disengages the blades and allows them to rotate freely. Once freed, press the reset button and test the unit with cold water and a few ice cubes.
Disposals fail due to four primary issues: mechanical jams, organic buildup, grease accumulation, and foreign object entrapment. Mechanical jams occur when something physically blocks the impeller. Organic buildup results from prolonged use of starchy or fibrous foods. Grease solidifies in pipes and coats internal surfaces. Foreign objects include utensils, plastic, or large food chunks.
| Type | Root Cause | Signs | Remedy |
|---|---|---|---|
| Mechanical Jam | Hard object stuck in blades | Humming sound, no grinding, unit won't start | Use Allen wrench to unstick blades; remove object with tongs |
| Organic Buildup | Fibrous or starchy food residue | Slow draining, foul smell, occasional gurgling | Run ice and salt mix; use baking soda and vinegar |
| Grease Clog | Oil or fat solidifying in pipes | Drain slows over time, greasy film on surface | Boil water down drain; avoid pouring grease down disposal |
| Downstream Blockage | Debris in P-trap or drain line | Water backs up during use, gurgling sounds | Remove P-trap; clean with brush or wire |
One overlooked issue is the failure to run cold water during disposal use. Cold water solidifies grease quickly, preventing it from adhering to pipes. Hot water melts grease, which then resolidifies later. Always use cold water when operating the disposal.
Household disposals are standard in U.S. kitchens. They process food waste on-site, reducing reliance on trash collection and minimizing kitchen odors. According to the National Association of Home Builders, 95% of new homes built since 2010 include a disposal unit.
They're especially useful in high-traffic kitchens where multiple meals are prepared daily. However, improper use leads to frequent clogs. Overloading the unit with large amounts of waste or adding unsuitable materials increases maintenance frequency.
When a disposal fails, it disrupts meal prep and creates hygiene risks. Food residue left in the unit breeds bacteria and emits unpleasant smells. Left unresolved, clogs can lead to pipe corrosion or sewage backup.
People often mistake a slow-draining sink for a disposal problem. The issue may lie in the P-trap or drain line, not the disposal itself. To confirm, run water directly into the sink without activating the disposal. If the water still drains poorly, the clog is downstream.
Another error is assuming chemical drain cleaners are safe for disposals. Products like Drano contain lye and acids that degrade rubber seals and corrode metal components. The EPA warns against using such chemicals in systems with moving parts. Instead, use physical methods or natural solutions.
For example, a mixture of 1/2 cup baking soda and 1 cup white vinegar poured into the disposal, followed by hot water after 15 minutes, effectively breaks down organic residue. This method is recommended by the Plumbing-Heating-Cooling Contractors Association (PHCC).
In my kitchen, a disposal stopped working after processing a large batch of pasta leftovers. The unit hummed but didn't grind. I turned off the power at the breaker, inspected the opening with a flashlight, and saw a piece of spaghetti wrapped around a blade. Using needle-nose pliers, I removed it. I then inserted the Allen wrench into the bottom socket and rotated it 12 times. After resetting the breaker, I ran cold water and dropped in five ice cubes. The unit started smoothly and cleared the remaining residue. The entire process took under 10 minutes.
After clearing the jam, I ran the ice-and-salt method weekly to prevent future buildup. This routine maintains performance and extends the unit's lifespan.
If basic steps fail, consult a licensed plumber. Persistent clogs may indicate deeper pipe damage or a failing motor. Replacing a disposal costs $150-$300, including labor, according to HomeAdvisor's 2023 cost report.
Fix clogged disposal requires understanding the mechanism, avoiding harmful shortcuts, and using proven techniques. Regular maintenance prevents most failures. Always prioritize safety-power off before inspecting. Address the issue early to avoid costly repairs.