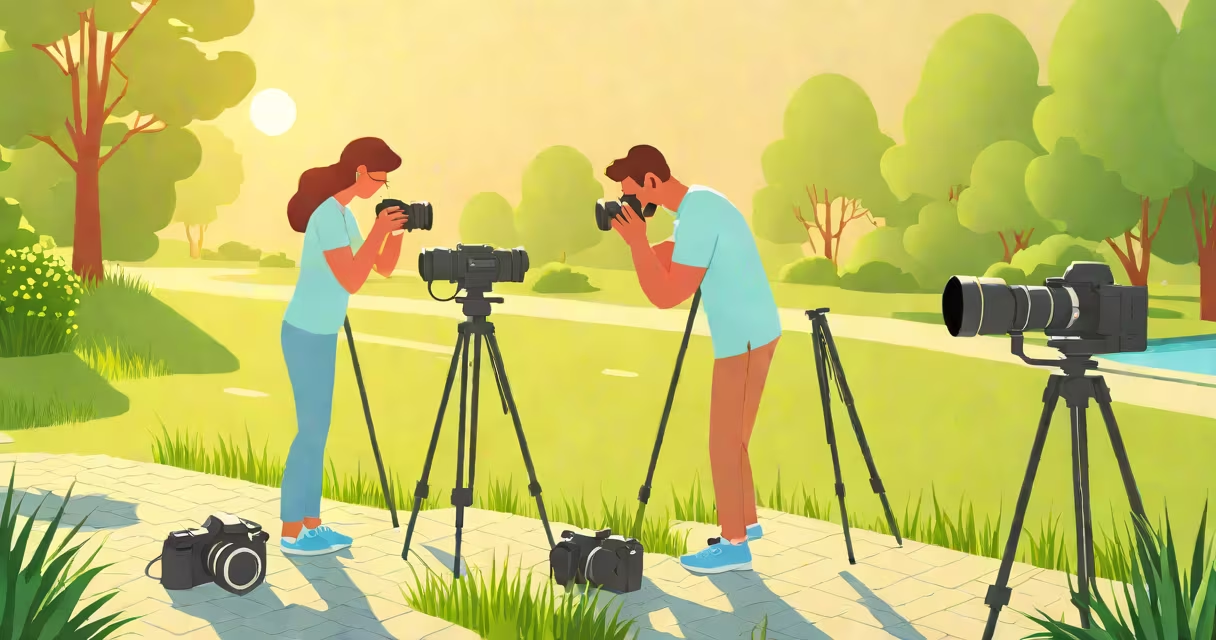
ISO settings for outdoor photography refer to the camera's sensor sensitivity to light, adjusted to balance exposure, motion blur, and image noise under varying daylight conditions. Choosing the right ISO ensures sharp, well-exposed images without excessive grain.
ISO is one component of the exposure triangle, alongside aperture and shutter speed. In outdoor settings, sunlight intensity changes rapidly throughout the day, requiring changing ISO adjustments. A low ISO (100-200) captures fine detail in bright midday light, while higher ISOs (800-1600) are needed during golden hour or overcast conditions to maintain proper exposure without slowing shutter speed.
Modern digital cameras handle high ISOs better than film, but noise increases above ISO 1600. For most outdoor situations, keeping ISO between 100 and 800 maintains image quality. Professional photographers often set their cameras to auto ISO with a maximum limit to preserve flexibility in changing light.
When you increase ISO, the sensor amplifies incoming light. This allows faster shutter speeds in dimmer light, reducing motion blur from wind, moving subjects, or handheld shooting. However, amplification also boosts electronic noise-visible as grain or color speckling, especially in shadows.
For example, shooting a mountain field at 10 AM with clear skies requires ISO 100. Using a wide aperture (f/5.6) and a 1/500-second shutter speed ensures crisp detail. But if clouds roll in and light drops by two stops, increasing ISO to 400 lets you maintain the same shutter speed without underexposing the image.
Some cameras allow ISO expansion beyond standard ranges. On a Canon EOS R5, ISO 100 is base sensitivity. Pushing to ISO 12800 may be necessary in deep shade, but results show noticeable luminance noise. Post-processing tools like Adobe Lightroom's noise reduction can mitigate this, though detail loss occurs if pushed too far.
Outdoor shooting scenarios demand different ISO strategies based on time of day, weather, and subject movement. Here's a breakdown:
| Light Condition | Recommended ISO Range | Use Case Example |
|---|---|---|
| Bright midday sun | 100-200 | Landscapes, architecture, portraits with minimal shadows |
| Golden hour (sunrise/sunset) | 200-400 | Warm-toned portraits, silhouettes, long exposures |
| Overcast or shaded areas | 400-800 | Forest trails, urban scenes with deep shadows |
| Dusk or twilight | 800-1600 | Evening landscapes, night sports, slow-motion action |
These ranges assume a DSLR or mirrorless camera with a full-frame or APS-C sensor. Crop-sensor cameras like the Nikon D3500 perform similarly but may exhibit noise at lower thresholds due to smaller pixel size.
Many beginners believe "higher ISO = better for low light." That's incorrect. High ISO doesn't improve light capture-it amplifies existing signal. If the scene lacks photons, boosting ISO only makes noise more visible. Better solutions include using a wider aperture or slower shutter speed (with tripod support).
A common mistake is setting ISO manually in auto mode. If your camera is in Aperture Priority (A or Av), changing ISO affects shutter speed automatically. Setting ISO to 1600 in bright sun forces the camera to use extremely fast shutter speeds (e.g., 1/4000 sec), which may freeze motion but reduce depth of field unintentionally.
Another misconception: ISO is fixed per shoot. In reality, experienced shooters adjust ISO throughout a session. I once photographed a wedding ceremony transitioning from outdoor noon to indoor evening. I started at ISO 100, increased to 400 during the reception under dim lighting, and dropped back to 200 when we moved outside again. This adaptability preserved consistency across shots.
ISO is not the same as shutter speed or aperture. Confusing them leads to misjudged exposure. For example, increasing ISO to brighten an image doesn't change depth of field (aperture) or motion blur (shutter speed). Each controls a different aspect of image quality.
Always check your histogram. A clipped show (right edge touching the graph) means overexposure. A spike on the left indicates underexposure. Adjusting ISO based on histogram feedback prevents blown-out skies or lost shadow detail.
Use your camera's ISO auto range settings. On Sony Alpha series, setting auto ISO with a minimum shutter speed of 1/250 sec and max ISO of 1600 keeps exposure stable in variable light. This avoids manual guesswork during fast-moving events like festivals or wildlife encounters.
For consistent results, shoot in RAW format. RAW files preserve more data than JPEG, allowing greater latitude in post-processing. You can lower ISO in editing software, but you cannot recover detail lost due to over-amplification.
When shooting in direct sunlight, consider using a neutral density (ND) filter. This reduces light entering the lens, allowing lower ISO and slower shutter speeds for motion blur effects-ideal for waterfalls or busy streets.
Scenario: You're photographing a coastal sunset at 6:45 PM. Sky is transitioning from blue to orange. Waves crash every 3 seconds. You want to freeze motion and retain color detail.
Step 1: Set aperture to f/8 for sharp focus across the scene. Step 2: Start with ISO 100 and shutter speed at 1/250 sec. Step 3: As light fades, increase ISO to 200, then 400. Step 4: When waves become too dark, raise ISO to 800 and slow shutter to 1/60 sec to capture motion blur.
This sequence maintains exposure while managing noise. Final image shows rich color, clean details, and subtle motion in the surf.
Understanding iso settings for outdoor photography isn't about memorizing numbers-it's about responding to light. The goal is clarity, not maximum sensitivity. Always test settings in real conditions. Your camera's live view and exposure meter are better guides than theory alone.