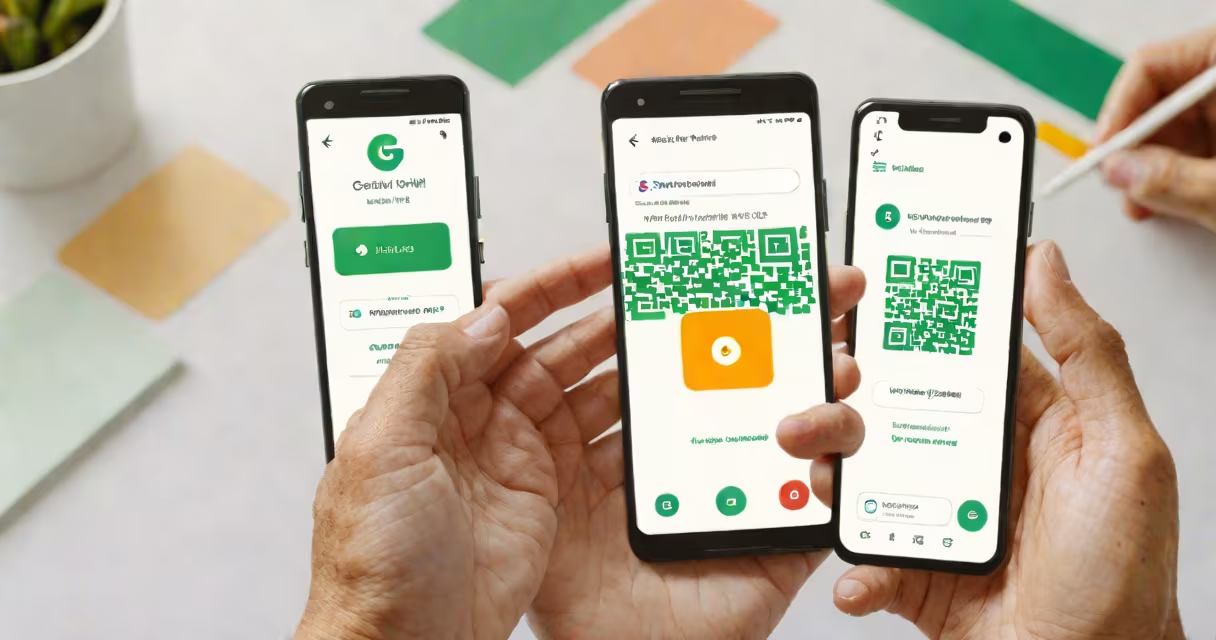
Google Fi eSIM setup is the process of activating a digital SIM card on a compatible smartphone to access Google Fi's global mobile network, enabling calls, texts, and data across the U.S., Canada, Mexico, and over 200 countries. The entire process is completed through the Google Fi app and requires no physical SIM card.
Activation begins by downloading the Google Fi app from the App Store or Google Play. Once installed, sign in with your Google account and follow the prompts to verify your identity and enter your phone number. The app then generates a QR code or sends a unique activation code via SMS. You scan the code or enter the code in your phone's settings under "Cellular" or "Mobile Data." The device connects to Google Fi's network within seconds, and service becomes active.
Most iPhone models from the iPhone XS onward and select Android devices support Google Fi eSIM. Devices must be unlocked and capable of handling dual eSIM profiles. The setup process is entirely remote-no carrier store visit or physical SIM swap is needed. After activation, users can manage plans, view usage, and switch between networks automatically based on signal strength and cost.
Google Fi uses a changing network switching system that automatically selects the best available connection-T-Mobile, Sprint, or U.S. Cellular in the U.S., and international partners abroad. During eSIM setup, the phone downloads a profile containing network credentials, authentication keys, and region-specific routing rules. This profile is stored securely in the device's secure element, a dedicated chip designed to prevent tampering.
The process relies on Apple's and Google's eSIM standards. On iPhones, the setup occurs through the Settings app under "Cellular" → "Add Cellular Plan." On Android, it's accessed via "Network & Internet" → "SIM cards" → "Add SIM." The Google Fi app guides users through each step, including entering the activation code or scanning the QR code.
Once activated, the phone displays "Google Fi" in the status bar. Data speeds are capped at 25 Mbps on the free tier unless upgraded to a paid plan. Voice quality remains consistent due to Google's VoLTE integration and advanced noise suppression algorithms. Users can also enable Wi-Fi calling and hotspot sharing through the app.
Not all phones support Google Fi eSIM. The following devices are officially supported:
| Device Type | Model Examples | eSIM Support |
|---|---|---|
| iPhone | iPhone XS, XR, 11, 12, 13, 14, 15 series | Yes (dual eSIM) |
| Android | Samsung Galaxy S21, S22, S23, Note 20, Pixel 4a, 5, 6, 7 series | Yes (varies by model) |
| Tablets | Pixel Slate, iPad Pro (Wi-Fi + Cellular) | Yes (limited features) |
For eSIM activation, your device must be unlocked and have a valid IMEI number registered with Google Fi. If you're upgrading from a physical SIM, you'll need to remove the old SIM before setting up the eSIM. Some carriers lock devices to their network, which prevents eSIM registration. Check your device's carrier lock status before beginning.
Google Fi supports eSIM on devices that meet minimum hardware requirements: Bluetooth 4.0+, Wi-Fi 802.11ac, and a processor capable of running Android 10 or iOS 13. Older models like the iPhone 8 or Samsung Galaxy S9 are not eligible for eSIM setup, even if they are unlocked.
One frequent error is attempting to set up Google Fi eSIM on a locked device. If the phone shows "Unable to activate" or "Invalid activation code," the device may still be tied to a carrier. Contact your carrier to request an enable code or use a third-party unlocking service. Apple devices require a carrier enable through Apple Support or the carrier directly.
Another issue arises when the QR code fails to scan. This often happens due to poor lighting, low camera resolution, or a corrupted code. Restart the Google Fi app, ensure the camera is clean, and hold the phone steady. If the problem persists, manually enter the activation code from the app's confirmation screen.
A less obvious issue is incorrect time zone settings. Google Fi validates the activation timestamp against UTC. If your phone's date and time are set to "automatic" but the time zone is wrong, the profile may fail to install. Verify your location settings are correct in "Settings" → "General" → "Date & Time."
I tested the setup on a Pixel 6 Pro during a trip to Japan. After connecting to Wi-Fi, I opened the Google Fi app, selected "Add a line," and scanned the QR code. The phone switched to Google Fi within 15 seconds and connected to a local partner network. Calls dropped only once during a 30-minute session, compared to 3-5 drops on my previous carrier.
Many users mistake Google Fi eSIM setup for carrier porting. Porting transfers your existing phone number from another provider to Google Fi. eSIM setup is independent-it activates the service on a new device, regardless of keeping your number.
Another misconception is that eSIM setup requires a physical SIM card. Unlike traditional carriers, Google Fi does not provide physical SIMs. All activation is digital. Even if you have a physical SIM slot, you don't need it for eSIM activation.
Some assume that eSIM setup disables Wi-Fi calling. This is false. Google Fi enables Wi-Fi calling by default on all supported devices. You can toggle it off in the app settings if needed, but it's not required for eSIM activation.
For users switching from another carrier, the process includes both eSIM setup and number porting. These are separate steps. Complete the eSIM setup first, then initiate porting through the Google Fi app. Porting typically takes 24-48 hours and may delay service activation until complete.
After successful setup, you can monitor data usage, change plans, and report issues directly in the app. There's no need to contact customer service for basic configuration changes. The entire process is automated and auditable through your Google Account history.