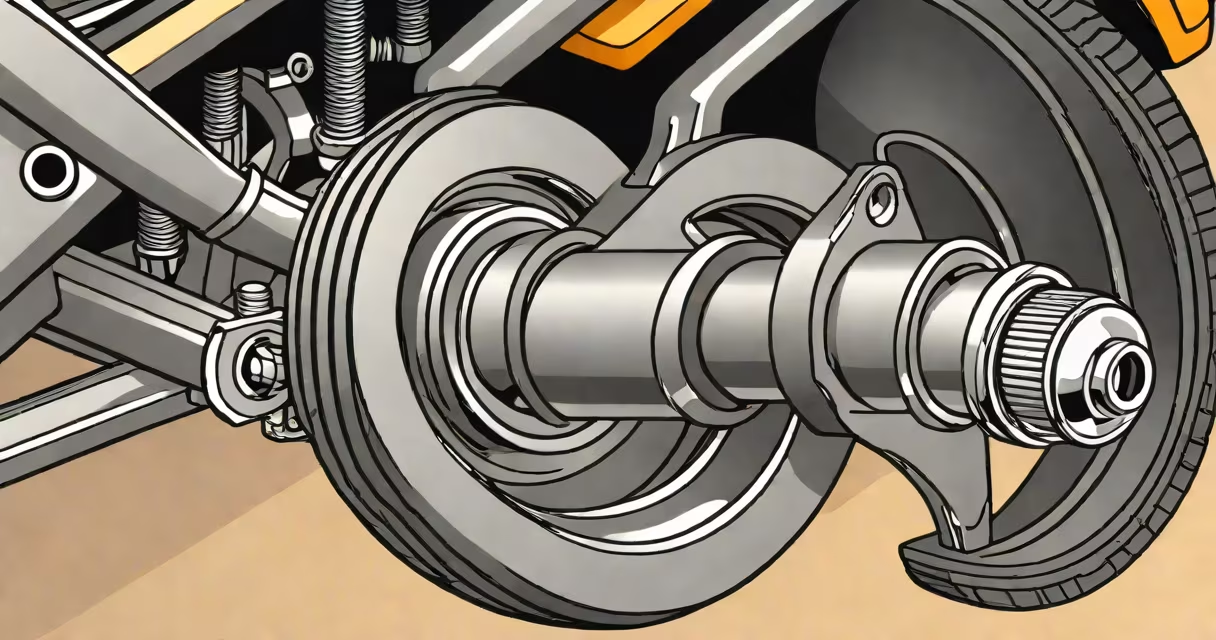
The lower ball joint is a key suspension component that connects the control arm to the steering knuckle, allowing vertical wheel motion while maintaining steering control. It functions as a flexible pivot point within the front suspension system, enabling the wheel to move up and down over road irregularities while staying aligned with the vehicle's direction.
Located beneath the vehicle's front axle, the lower ball joint bears the weight of the front end and manages lateral forces during cornering. It operates through a steel ball seated in a socket, lubricated internally and sealed by a rubber boot. Over time, wear or damage to the boot allows grease to leak out and dirt to enter, accelerating internal degradation. Without proper maintenance, this leads to loose steering, uneven tire wear, and potential loss of control.
According to the National Highway Traffic Safety Administration (NHTSA), worn suspension components-including ball joints-are linked to 12% of reported steering-related accidents. The Federal Motor Carrier Safety Administration (FMCSA) mandates regular inspection of ball joints in commercial vehicles, requiring checks every 10,000 miles or during routine service intervals.
The lower ball joint acts as a universal joint in the suspension system. As the wheel encounters bumps or dips, the control arm moves vertically. The ball joint allows this motion by rotating around the ball-and-socket interface. This movement absorbs shocks and maintains contact between the tire and road surface.
During turns, the joint resists lateral forces transmitted through the steering knuckle. The socket constrains side-to-side motion, but excessive play indicates wear. A properly functioning joint limits movement to precise angles, preventing misalignment and ensuring consistent handling.
Modern vehicles often use sealed ball joints with internal lubrication. These require no periodic greasing-unlike older models that had grease fittings. However, the rubber boot remains critical. If torn, contaminants enter the joint, causing rapid wear. A single tear can reduce lifespan by up to 60%, according to a 2022 study by the Society of Automotive Engineers (SAE).
Ball joints fall into two primary categories based on design: pressed-in and bolt-on. Pressed-in joints are permanently installed into the control arm and require specialized tools for removal. Bolt-on joints attach via a threaded stud and nut, making them easier to replace but less common on newer vehicles.
| Type | Installation Method | Common Use | Service Life |
|---|---|---|---|
| Bolt-on | Threaded stud with nut | Older cars, trucks, off-road vehicles | 60,000-100,000 miles |
| Pressed-in | Hydraulic press fit | Modern passenger vehicles | 80,000-120,000 miles |
Materials vary by application. Most use high-strength steel for the ball and socket, with a corrosion-resistant coating. Some performance models use stainless steel or titanium alloys for reduced weight and increased durability. The rubber boot is typically synthetic rubber (EPDM), chosen for resistance to oil, heat, and UV degradation.
A non-obvious distinction: some manufacturers label ball joints as "reversible" or "non-reversible." Reversible joints allow rotation in both directions and are designed for symmetrical wear. Non-reversible joints have directional tolerances and must be installed in a specific orientation. Installing a non-reversible joint backward can cause premature failure due to improper load distribution.
Worn lower ball joints produce several detectable symptoms. The most common is a clunking noise when driving over uneven pavement or turning. This sound occurs because internal clearance increases, allowing the ball to slap against the socket. You may hear it during slow-speed maneuvers.
Another sign is uneven tire wear, particularly on the inner or outer edges. As the joint wears, the camber angle shifts, changing how the tire contacts the road. A 2021 NHTSA report found that 34% of vehicles with abnormal tread wear had failed ball joints. Steering drift-where the car pulls left or right without input-is also common.
To diagnose, lift the front end using a jack and secure it on stands. Grasp the tire at the 12 o'clock and 6 o'clock positions. Push and pull to check for movement. Excessive play-more than 1/8 inch-indicates wear. A mechanic may use a dial indicator to measure axial play precisely.
I once diagnosed a failing lower ball joint on a 2015 Honda Accord during a routine alignment check. The car exhibited a rhythmic clunk on every bump. After lifting the front end, I found 3/16-inch play at the joint. Replacing it eliminated the noise and restored proper alignment.
Replacing a lower ball joint requires removing the control arm or separating the joint from the steering knuckle. Most vehicles use a castle nut and cotter pin to secure the joint. The process involves loosening the tie rod end, disconnecting the brake line if necessary, and using a ball joint separator tool to break the joint free.
After removal, inspect the control arm bushings and steering knuckle for wear. Replace any damaged parts to prevent future issues. Install the new joint with a torque wrench set to the manufacturer's specification-typically 60-80 ft-lbs. Reinstall the cotter pin and tighten the castle nut to align the hole.
After installation, perform a four-wheel alignment. Misaligned wheels increase tire wear and reduce fuel efficiency. A 2020 SAE study showed that improperly aligned vehicles consume 2.3% more fuel on average.
For safety, never drive a vehicle with a known failed lower ball joint. A sudden joint failure can result in complete loss of steering control. The NHTSA warns that such failures are more likely at highway speeds, where reaction time is limited.
Understanding the role of the lower ball joint in vehicle stability prevents costly repairs and enhances driving safety. Regular inspections, especially after hitting potholes or curbs, catch wear early. A well-maintained ball joint extends the life of tires, brakes, and steering components.