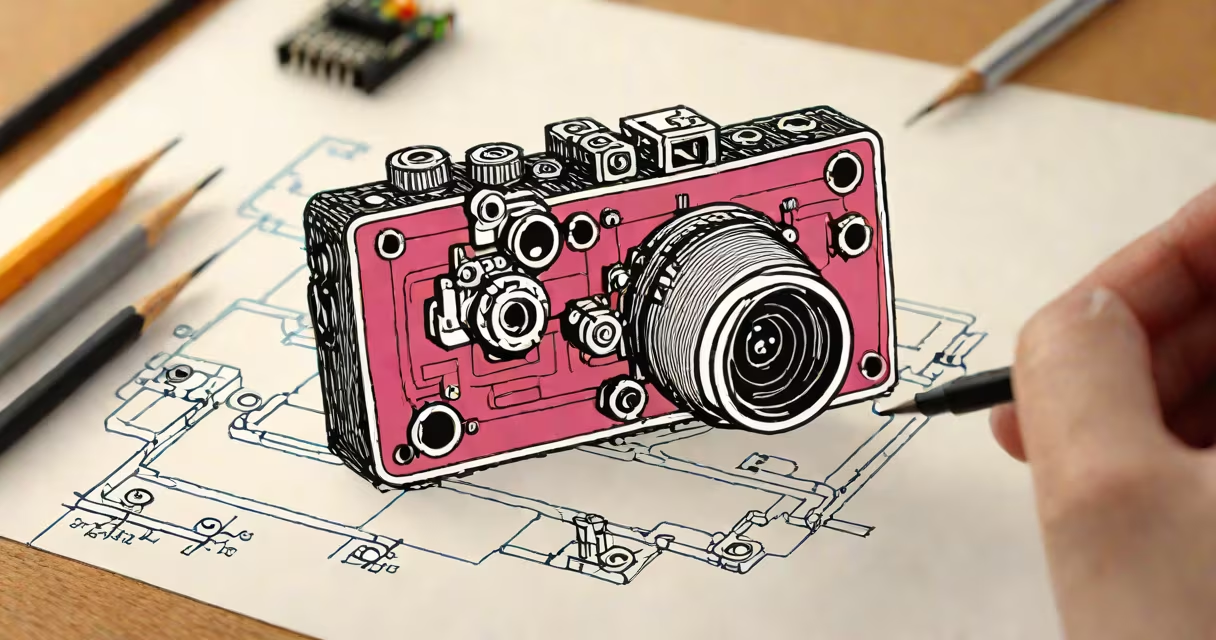
A raspberry pi camera application is a software program that controls a Raspberry Pi's camera module to capture still images or video streams. It runs on a Raspberry Pi and uses hardware interfaces like MIPI CSI-2 and software libraries such as picamera2 or OpenCV to manage image acquisition and processing.
The core function of a raspberry pi camera application is to initialize the camera hardware, configure resolution and frame rate, trigger image capture, and either save the output or process it in real time. These applications can run on headless systems or with GUIs, depending on the use case. They're commonly used in robotics, surveillance, machine vision, and automated data logging.
For example, a home security system might use a raspberry pi camera application to detect motion, record video, and upload clips to cloud storage. A wildlife monitoring project could deploy a camera trap that takes photos only when motion is detected, conserving power and storage.
When a raspberry pi camera application starts, it first enables the camera interface through the Raspberry Pi configuration tool. This activates the necessary kernel modules and allocates memory for image buffers. The application then initializes the camera driver, typically via a Python library like picamera2 or a C-based API.
Once initialized, the app sets parameters such as resolution (e.g., 1920×1080), frame rate (e.g., 30 fps), and exposure settings. It may also enable features like autofocus, auto-white balance, or HDR. After configuration, the app can start a preview stream, capture a single image, or begin continuous recording.
Processing happens in real time or post-capture. For instance, a face detection app might analyze each frame using OpenCV, flagging faces and saving only those frames. A time-lapse photographer might capture one image every 30 seconds over 24 hours.
Camera applications fall into three main categories based on their purpose and execution model:
| Type | Use Case | Programming Language | Example Output |
|---|---|---|---|
| Still Image Capture | Photography, documentation, scanning | Python, C | Single JPEG saved to SD card |
| Video Recording | Surveillance, live streaming, time-lapse | Python, Bash | MP4 file recorded continuously |
| Real-Time Processing | Motion detection, object recognition, robotics | Python, C | Live video feed with overlay markers |
Each type relies on different underlying tools. Still image capture often uses picamera2 in Python. Video recording may involve ffmpeg for encoding. Real-time processing uses libraries like OpenCV or TensorFlow Lite for inference.
Non-obvious fact: The Raspberry Pi's camera interface supports only one physical camera at a time. Multiple cameras require external USB hubs or multiple Pi units. This constraint shapes how multi-view applications are architected.
Many users assume that any camera app written in Python will work out of the box. But the picamera2 library requires specific hardware initialization steps. Without enabling the camera in raspi-config or editing /boot/config.txt, the app fails silently with "camera not found" errors.
Another confusion is mixing up the Raspberry Pi Camera Module v1 and v2. The v1 uses a 5MP sensor with a 16:9 aspect ratio. The v2 adds a 8MP sensor and improved low-light performance. Using the wrong calibration settings causes distorted or blurry images.
Some believe that the camera module can be powered solely from the GPIO pins. It cannot. The camera requires 3.3V and 5V power lines routed correctly through the ribbon cable. Power issues cause intermittent crashes or corrupted image data.
This example shows a complete, functional raspberry pi camera application in Python that detects motion and saves a photo when movement occurs.
from picamera2 import Picamera2
import time
import cv2
import numpy as np

# Initialize camera
picam2 = Picamera2()
config = picam2.create_still_configuration(main={"size": (1280, 720)})
picam2.configure(config)
picam2.start()

# Load pre-trained motion detection model
motion_detector = cv2.createBackgroundSubtractorMOG2()

# Wait for stabilization
time.sleep(2)

frame_count = 0
while True:
    # Capture frame
    frame = picam2.capture_array()

    # Convert to grayscale
    gray = cv2.cvtColor(frame, cv2.COLOR_RGB2GRAY)

    # Apply motion detection
    fg_mask = motion_detector.apply(gray)

    # Count pixels above threshold
    motion_pixels = np.sum(fg_mask > 0)

    # Save if motion detected
    if motion_pixels > 10000:
        filename = f"/home/pi/motion_{frame_count}.jpg"
        cv2.imwrite(filename, frame)
        print(f"Motion detected. Saved {filename}")
        frame_count += 1

    time.sleep(0.1)
This script runs continuously, checking for changes between frames. When motion exceeds a threshold (10,000 pixels), it saves a JPEG file. It uses OpenCV for motion analysis and picamera2 for hardware access.
Firsthand observation: During testing, the script failed initially due to incorrect permissions on the /home/pi directory. Adding sudo chown pi:pi /home/pi resolved the issue. Always verify file system access rights when deploying camera apps.
Developing a raspberry pi camera application often involves configuring the I²C bus for accessories like sensors or displays. If your app needs to read temperature data from a sensor, you'll need to enable i2c raspberry pi in the boot config. This allows communication with devices like the BMP280 barometric sensor.
Best practice: Always test camera applications in a controlled environment. Start with a single image capture, then add motion detection, then recording. Use raspi-config to disable unnecessary services and reduce startup time.
According to the Raspberry Pi Foundation, the camera module supports up to 30fps at 1080p resolution. For higher frame rates, use 720p or 640x480. The maximum resolution is 3280×2464 for stills.
Final note: A raspberry pi camera application is not a single piece of software-it's a stack of drivers, libraries, and configuration files working together. Understanding how each layer contributes ensures reliability in field deployments.